In this low aerial shot, both Appleby stations can be seen. The Eden Valley line is on the right
When the Settle to Carlisle finally rolled into town in 1876 Appleby gained a second station at Appleby West courtesy of the Midland Railway just a schoolyard away from the NER’s Appleby East offering of 1862, though there was nothing unique in that during railway mania. Appleby West was very slightly less inconvenient a location for a station, and topography dictated the S&C route north out of Appleby via the gap between Castrigg Hill and High Moor via a cutting if the Midland’s engineers were to keep to their maximum gradient of 1 in 100. Thomas Bouch probably considered such a road to be almost flat!
Road crossing at Appleby East. The Midland station can be see in the distance
The lines were connected from a junction just north of the Midland’s platforms, via a reverse
The link between the EVR and S&C at Appleby
curve dropping down at around 1 in 70 joining the EVR’s “double track section” (though “loop” is probably more rational!) to Midland Junction where the single line token section to Kirkby Thore commenced, and the EVR ducked under the S&C and followed the River Eden to Temple Sowerby.
There is logic to the connection for the exchange of freight heading to and from West Cumberland via Penrith and Keswick, though such traffic could also be routed via the Low Gill and Tebay. The connection was certainly used for diversions from Carlisle when the S&C was shut for engineering or snow (there’s a lovely shot of a Jubilee taking the token at Kirkby Thore with the Thames Clyde Express) and there was at least one Penrith – Appleby working that turned at Appleby West.
A little known oddity was a southbound link from the S&C, running parallel to Drawbriggs
The Missing Link. Was track ever laid?
Lane and passing under Cross Croft and joining the EVR heading for Warcop. The bridges and cuttings are clear to see today, though the bridge has been filled and what I believe is a dairy occupies most of the site north of Cross Croft. The existence of the connection is controversial with both Walton and Western doubting that track was laid.
The OS County Map of 1899 shows a double track connection, but the 1915 map shows as dismantled. The railway atlases of Jowett makes no mention, and the definitive work of Colonel Cobb (which typically changes hand for £600-£700, though we live in hope of a reprint) also makes no mention.
For the purpose of the route, I’ve modelled the disused trackbed, but if anyone has any information as to whether track was laid and/or when it was lifted, another riddle of the line could be solved.
Let us conclude this post with some more WIP images. We begin with a brief reminder of the most famous section of line - the summit and Belah Viaduct:
The bleak summit with the water tank now modeled
The spectacular viaduct at Belah. In this shot we look east, up the gradient towards the summit.
Looking west to Kirkby Stephen East station
Kirkby Stephen Junction. The Stainmore route heads off to the left, whereas the EVR bares right. We are hading along the EVR today
Musgrave
Copeland Viaduct
Appleby East
Looking west towards Kirkby Thore from the token exchange
Temple Sowerby looking west
Looking north at Skygarth viaduct
The EVR draws alongside the West Coast Mainline near Penrith. The Junction can be seen in the distance
Reports of my demise have been greatly exaggerated!
As you may have read on the SSS Facebook page, we've had 3 months of downtime on the route. I was sent out to Australia with work (anything but a holiday!) so route building had to cease while I was away. Phil is on the mend now too, so I'm pleased to report we're very much 'back in the saddle'.
The section we're concentrating on is Appleby East, which as you'll see from the screenshots is coming together nicely. The EVR of course was the first in town, and like many companies in the era of railway mania, architecture was elaborate, gothic and way beyond functional, and Appleby station was and remains quite stunning in terms of railway architecture, no doubt contributing to its continuing existence as a house, though the garden, a scrapyard, is unlikely to win any awards.
I expect Phil is, however, cursing the architect for making such a complex thing to model.
This stretch of this line never famed in railway circles, despite it running through beautiful scenery that wasn't called Eden for nothing, in many cases the same scenery of the S&C. I'm forming the view that there is a romance attached to anything closed by Beeching (who, according to my late grandfather, knew the cost of everything and the value of nothing) but later closures seem to fall from the radar.
The section from Appleby to KSE and Hartley Quarry remained open until 1974, and to Warcop until 1993 and saw a huge variety of diesel traction - 20s, 25s, 26s, 31s, 40s, 45s and 47s during this period yet got very little press for its trouble. Fortunately its survival facilitated its partial saving by the EVR preservationists at Warcop who run trains most of the way to Appleby - pop in and have a ride when they reopen at Easter.
One of the later workings on the line was a weed killing train, a curious pre privatisation train operated by Hunslet Barclay for BR comprising a pair of class 20s topping and tailing tanks and support coaches. Other workings were for the army at Warcop - ammunition, tanks, troops and on one occasion 6 condemned coaches that were raided by the SAS. As an exercise, obviously!
Having not updated you all for while on progress, we thought it was about time we brought you up to date:
Life and It's Challenges
With excellent progress having been made on the Stainmore and Eden Valley routes, our team were floored recently by ill health and incredibly busy work schedules. Things are improving. However, we ask for your patience, as development has slowed significantly over the last few months. Things are just beginning to pick up again now and that is the second purpose of this post. . . . . . . . . . . .
Appleby East Takes Shape
Phil's latest creations include the goods shed platforms, shed, cattle pens (including natural interior decoration) and a new PW hut. These can be see in the following images:
Appleby East goods shed seen from various angles
The cattle pens with appropriate floor decoration!
The goods platform with small crane
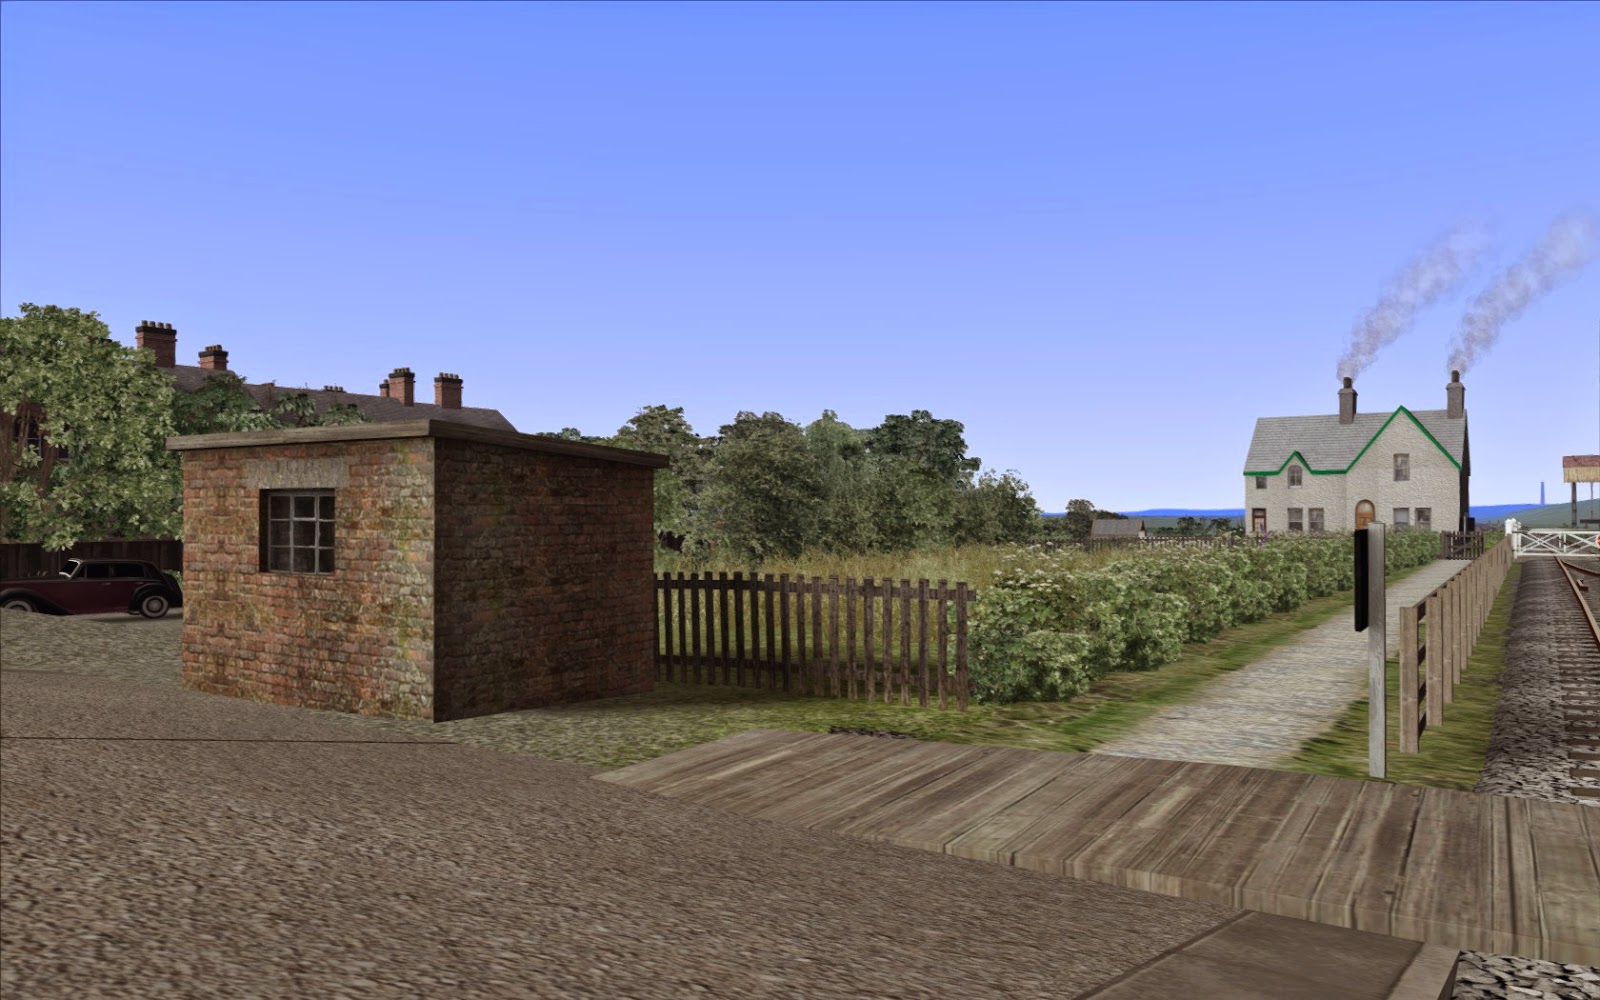
New PW hut
Not as comprehensive update as we hoped to bring you after a long time, but there is progress happening.
As a lot of
the Stainmore Route is over remote moorland, I was asked if it was possible to
animate a few animals to add interest to the scenery. It is
possible to make a simple animation of individual animals and using TS2014's AnimatedScenery
blueprint, place them in game. I will be using this option, but, whilst I think
it is very suitable for single or small groups of animals, such as horses, it
seemed that a flock of sheep, or herd of cattle, needed a more random approach.
A field full of cows all doing the same thing would probably look worse than
the current static models.Looking at
the options available, the current animated characters we see on platforms
appeared to provide the nearest thing to random movement, so I decided to see
if the technique would work for quadrupeds as well as bipeds?So, first
catch your sheep!
As this was
to be a Proof of Principle exercise,
there were a lot of short cuts in order to speed the process up and this was
the first shortcut, as it is a free mesh I downloaded from the web, thanks to
azly. It is only
for personal use so will be replaced when the final version is created, also,
it had several thousand polys which I reduced to 2000, but that is still too
high for this kind of model.
Having loaded the mesh into my 3d software I
added the texture. As this will be an animated model it is important that one
of the Kuju Skin shaders is used otherwise the model will not appear in game. (
in my case SkinNormal.fx as it has a normal map)
With the
mesh in side view the bones are added to the model to prepare it for animation.
I used a picture of a sheep skeleton I found on the web as a guide in placing
the bones.
Putting the
model into see through mode, bones were quickly added to each limb, the spine,
neck and head. Again, for speed, no attempt has been made to make it very tidy.
Also, as the animations would also be just trial ones, no IK chains were added,
as the bone placements were to be added by hand.
Note, that
whilst it is common practice to re-name bones, root/neck/hip etc, to assist the animation process, this is not
possible in TS2014. They can be re-named but they must be prefixed by bone_. So, "bone_root" is
possible but not just "root".
If you wish
to learn about bone placement there are lots of guides on Youtube.
With the
bones in place the model could be skinned. Skinning is a long and tedious
process to get right so I didn't try too hard, given the temporary nature of
this particular model. So, apologies in advance for some of the images that
follow!
Looking at
the blueprints for existing Platform Characters there are three different
elements. Firstly an AnimProceduralSceneryBlueprint which puts the animated
model into the game. then the PlatformCharactersBlueprint, which collects all
the characters together and finally, the PlatformSectionBlueprint, which is the
loft the characters are generated on.
So the first
requirement was to create the AnimProceduralSceneryBlueprint. The existing
Platform Characters appear to have three different animations, walk, wait and
shuffle, and these seem to be hard coded so, having prepared my sheep model, I
now needed three animations!
I decided to
make the walk animation first and to help me do it I turned to the father of
animation, Eadward Muybridge.
Edward James
Muggeridge was born 1830 in England. At age twenty, he immigrated to America,
first to New York, and then in 1855, to San Francisco, where he acquired an
interest in photography. At this time, he changed his surname to Muybridge.
Under the
pseudonym "Helios," he set out to record the scenery of the west with
his mobile darkroom. He produced a wide array of panoramic landscape
photographs, most famously of Yosemite Valley, and travelled to Alaska to photograph
the Tlingit people.
As Muybridge's reputation as a photographer grew in
the late 1800s, former California Governor Leland Stanford contacted him to
help settle a bet. Speculation raged for years over whether all four hooves of
a running horse left the ground. Stanford believed they did, but the motion was
too fast for human eyes to detect. In 1872, Muybridge began experimenting with
an array of 12 cameras photographing a galloping horse in a sequence of shots.
His initial efforts seemed to prove that Stanford was right, but he didn’t have
the process perfected.
Between 1878
and 1884, Muybridge perfected his method of horses in motion, proving that they
do have all four hooves off the ground during their running stride.
Muybridge
worked at the University of Pennsylvania between 1883 and 1886, producing
thousands of photographs of humans and animals in motion. During the remaining
years of his life, he published several books featuring his motion photographs
and toured Europe and North America, presenting his photographic methods using
a projection device he'd developed called the Zoopraxiscope.
Many
examples of his work are available on the web in picture format and as animated
gif. Unfortunately, he didn't do any sheep but there are animated gif of a
walking pig and I thought its gait was sufficiently close to what I needed for
the sheep walk. Just needed to get the pictures into my modelling software.
OK, here is
the geek bit! Please note, most of these operations do not seem to like
drag-and-drop, so if you want to give this a try, please avoid it.
Save the
animated gif to desk top then open it in photoshop using File\Import\Video
Frames to Layers, and you will see in your layer palette all the layers that
make up the gif animation. Then use Files\Scripts\Export Layers to files, give
them a suitable prefix, e.g. pig and you will have a full set of images to work
with.
There are
two options at this point. Create the same number of planes in your 3d
modelling software as there are animation frames, then create a
Multi\Sub_Object material with each frame as a new sub-object in your material
then apply it to the planes. The planes should then be aligned with each other,
behind the model, where they are hidden or exposed sequentially during the
animation process.
A more
elegant solution is to load the collection of layer images into After Effects
and convert it into a movie. If you haven't got After Effects, it can be
downloaded for a free trial.
Use
File\Import\File and select the first file in your collection of images, tick
the box in the lower right corner for sequence then Import. This should load
all of your images into AE. From the toolbar select Composition\Add to render
queue then click the Render button on the right. This will create an .avi file
of your images. In your modelling software create a single plane then texture
it using the .avi file as a material. This does two things, it add the images
to the plane and creates an animation timeline with a key frame for each image.
Align the plane with your model and you are ready to go.
If you want
to see this operation at work have a look at Dave Saxon's Youtube video here which will demonstrate it better than I can
explain it.
With the
video in place the bones could be animated, frame by frame, with the following
result.
I quickly
made two further animations for the wait and shuffle cycles and added them to
the blueprint. For the wait cycle the sheep just turns its head to one side,
and for the shuffle ir bends to eat the grass.
Next the
PlatformCharactersBlueprint. This blueprint lists all the characters that will
appear on the platform and, as I only had one, was fairly simple to set up.
Other factors of this blueprint decide the population density of the characters
and when they will appear. If you are familiar with placing Platforms as
scenery, these are the adjustable items that appear in the right-hand fly-out
of the editor.
Finally,
there is the PlatformSectionBlueprint. This basically combines a platform loft
with the platform characters to give the finished product. As I wanted to place
the finished item anywhere on the route, the obvious choice was to have an
invisible platform, so the existing terrain would show through. This was easy
to achieve as I regularly use invisible lofts for viaducts, so I already had
the necessary assets. Other items, such as entry point spacing and waiting
point offset, are specified in this blueprint. Haven't a clue how these work so
just copied some values from an existing people platform.
Finally,
ready to place in game and ......nothing!
Took me
nearly a week to work out the problem. Apparently these procedural platforms
don't like being near the edge of terrain tiles. Moved the platform away from
the edge and, at last, a result.
The
following video shows the Sheep Platform Loft in operation. I apologise once
more for the lousy skinning and weird animation.
I hope you
agree I have achieved the Proof of Principle I set out to get, now the hard
work starts, creating a new model with proper skinning and believable
animation, plus the development of a herd of cows as well!
In the latest edition of our 'In Development' blog posts, we take a look at the start of the Stainmore Route, at it's eastern-most point, at Barnard Castle.
A station opened at Barnard Castle in 1856. However, it was soon realized that this station would not be sufficient to serve the future needs of the site. A new station was constructed and opened in 1865, leaving the old station to become a goods shed. We are of course modeling the 1865 station, with the track layout representing the railway in it's latter years, but before significant running down began. Please note that the following pictures represent the route as a work in progress, with many details yet to be added. We hope you enjoy the following images.
The south side of the station, as seen from the station yard. The 1865 building was made from an attractive yellow sandstone
The 'train shed' can be seen to good effect in this view of the north side of the station. We look west. The Stainmore route heads off into the distance
Looking at the west end of the station, with the 1949-built canopy
A passengers view, looking towards the main platform, under the train shed. Note the impressively modeled cast-iron scrollwork
Looking north east across the station site
North Eastern Railway trespass warning sign positioned in the station yard
Looking west towards the station. On the left is a placeholder signal box and the level crossing ahead. The level crossing was controlled from the east signal box. Hopefully we can replace the level crossing with something which fits better. The left-hand line accesses the east bay, which was lifted in 1954. Out of shot, to the right, is an engine shed and turntable
Behind the station, to the south, is a short NER goods branch. The original Barnard Castle station was along this line
The site of the original Barnard Castle station, now the site of a goods depot. Note the coal drop. These were found throughout the system, at various stations and yards along the line.
So that how Barnard Castle looks at the moment. Lots of finer details are to be added, including: Point rodding, signals and much more.


.jpg)


